Organ Method III
This is the next part of the Introduction, following directly from last month. Next month’s column will include the final section of the Introduction—which will finish up the preliminary discussion of registration, and touch on one or two smaller points—and the beginning of the first chapter, which will be about pedal playing. This Introduction includes, as I mentioned last month, quite a bit that is very basic, that is really addressed to someone who has never sat down at an organ before. I want to include this for several reasons: first of all, that some such people may want to use the book; that some of them may not have access to an experienced teacher (though of course working with a teacher is a very good idea whenever possible); and that a beginner’s perspective can be interesting as a refresher even for non-beginners. I would especially appreciate feedback about this aspect of what I have written here. I would also like to begin to solicit the following from readers: terms that should be included in a Glossary. If you have a term that you think is important but not obvious—I don’t need to
be reminded to include “Great” or “Swell” or “Crescendo Pedal,” etc.—then please send it along, with—if you wish—your definition.
What do you the student need to know as you sit down at the keyboards of an organ for the first time?
First, you should know in general terms what to expect to find in front of you once you are seated at the organ bench. There will be keyboards: probably at least two manual keyboards (routinely abbreviated as “manuals”) and one pedal keyboard (“pedals”). There are a very few organs out there with only one manual, and of course some without pedals. A manual keyboard usually has the same general setup and configuration as a piano or an electronic keyboard: the same arrangement of seven “white” keys and five “black” (really “raised”) keys to the octave, the same letter names for the notes:
Remember, though, very little about the organ is “always”: you may someday encounter an organ on the keyboards of which some of the notes are actually in a different order from this. (This is rare: more about it later in this volume.) You will probably indeed encounter organs on which the “white” keys are of some dark or natural wood color, and the “black” keys are of a different wood color or perhaps are white. These colors and materials make no difference to the functioning of the instrument. (But if as a beginner, you find yourself at an organ that seems to have the notes of its keyboard(s) in a non-standard order, then consult the last chapter of this book, or the proprietor of that organ!)
The manual keyboards of most organs have a compass of four-and-a-half or five octaves. It is almost always the case that the lowest note of the manuals is a C, and that it is specifically C two octaves below middle C—the note two ledger lines below the bass clef: this is also, for example, the lowest note of the cello. The highest note is usually one of three notes: the C five octaves above that lowest note, or either the G or the F below where that five-octave C would have been. Middle C is, therefore, a bit to the left of the actual middle of the keyboard. It is normal—not universal, though close to it—for the multiple manual keyboards of any given organ to have the same compass as one another.
The most common numbers of manual keyboards on organs around the world are two and three: any survey would probably show that 90% of the organs out there are either 2-manual or 3-manual. However, 4-manual organs are far from unheard of, and even more than that can be found. The purpose of multiple manuals is to provide different sounds, and more flexible ways of using different sounds than could be achieved with just one keyboard: much more about this below.
The pedal keyboard is—appropriately enough—down at your feet, or essentially on the floor. Like the manuals, the pedalboard uses the regular keyboard configuration: it is important to be aware that this is so, even though it looks so very different. The keys of a pedal keyboard are of course bigger than the keys of a manual keyboard, or of a piano, say, or a harpsichord. Each key will be played, when it is played, by a foot. Manual keys are played not by the hand as such, of course, but by individual fingers. (Manual keys meant to be played by the whole hand are found in carillons, where they are about as big as organ pedal keys, and look similar.) The pattern of “white” and “black” keys is the normal one, though fairly often the keys are all of a natural wood color. (Raised keys may be black; no pedal keys are normally white.) The lowest note of a pedal keyboard is again usually a C: the same C as the lowest note of a manual keyboard—two octaves below middle C. The highest note is usually either the F or the G above middle C. This give a compass of about two and a half octaves, corresponding to the lower two and a half octaves of the manual compass.
Thus if you saw these notes
you would play, on a manual keyboard:
1) the lowest key
2) the next C up, which is the eighth white key and the thirteenth key overall
3) the next C up after that, the fifteenth white key, the 25th key overall: roughly the middle of the keyboard
4) the F above that (18th, 30th), still near the middle of the keyboard
5) the C above that (22nd, 37th)
and on a pedal keyboard:
1) also the lowest key
2) also the next C up (8th, 13th), but near the middle of the keyboard
3) also the next C up (15th, 25th), but rather near the top of the keyboard
4) also the F above that (18th, 30th), but very near the top of the keyboard—perhaps the top note (on a few pedal keyboards this note is not there: it is above the compass of the pedals)
5) this note is well above the compass of any pedal keyboard.
Note that “middle C” is more or less in the middle of a manual keyboard, but near the top of a pedal keyboard. The C that is found in the middle of a pedal keyboard is “C below middle C,” often called tenor C. Also note that E or F above middle C on the manuals is probably directly above E or F below middle C on the pedals.
All of this quickly becomes intuitive or second nature, but it is important to be clear about it from the beginning.
Beyond the keyboards, what else will you see when you first approach
the organ?
Surrounding the keyboards are various switches, knobs, tabs, buttons, lights, perhaps LCD-type displays, toe studs, pedals other than the pedal keys, and more. Organs vary from one another quite a lot in the configuration of all of these accessories. Some organs have many more of them than others. Most of the pedals, knobs, and so on have to do, one way or another, with changing sounds, and, therefore, they can be of critical importance in allowing the organ to reach its full expressive potential. For the beginner at the organ, some of them are more important to understand and to use right off the bat than others.
Somewhere on or near the keyboards is a switch to turn the organ on. Almost every organ needs electricity, either to pump wind, in the case of pipe organs, or to generate the sound directly, in the case of the various types of electronic organ. Prior to the late nineteenth century, all organs needed wind, and all pumping of wind was done by people: to play the organ—even just to practice, however briefly—required the help of someone plying the bellows. The switch that enables us now to play the organ alone can take any one of several forms—a button, something that looks like a light switch, a toggle switch of a different shape, a timer knob, a key in a lock. It can be located anywhere: right by the keyboards, on a nearby wall, in another room. The first time that you arrive at a new organ, the proprietor of that organ will probably show you the switch. If not, look around: if you’re lucky it will be labeled. If not, there might be some trial and error involved.
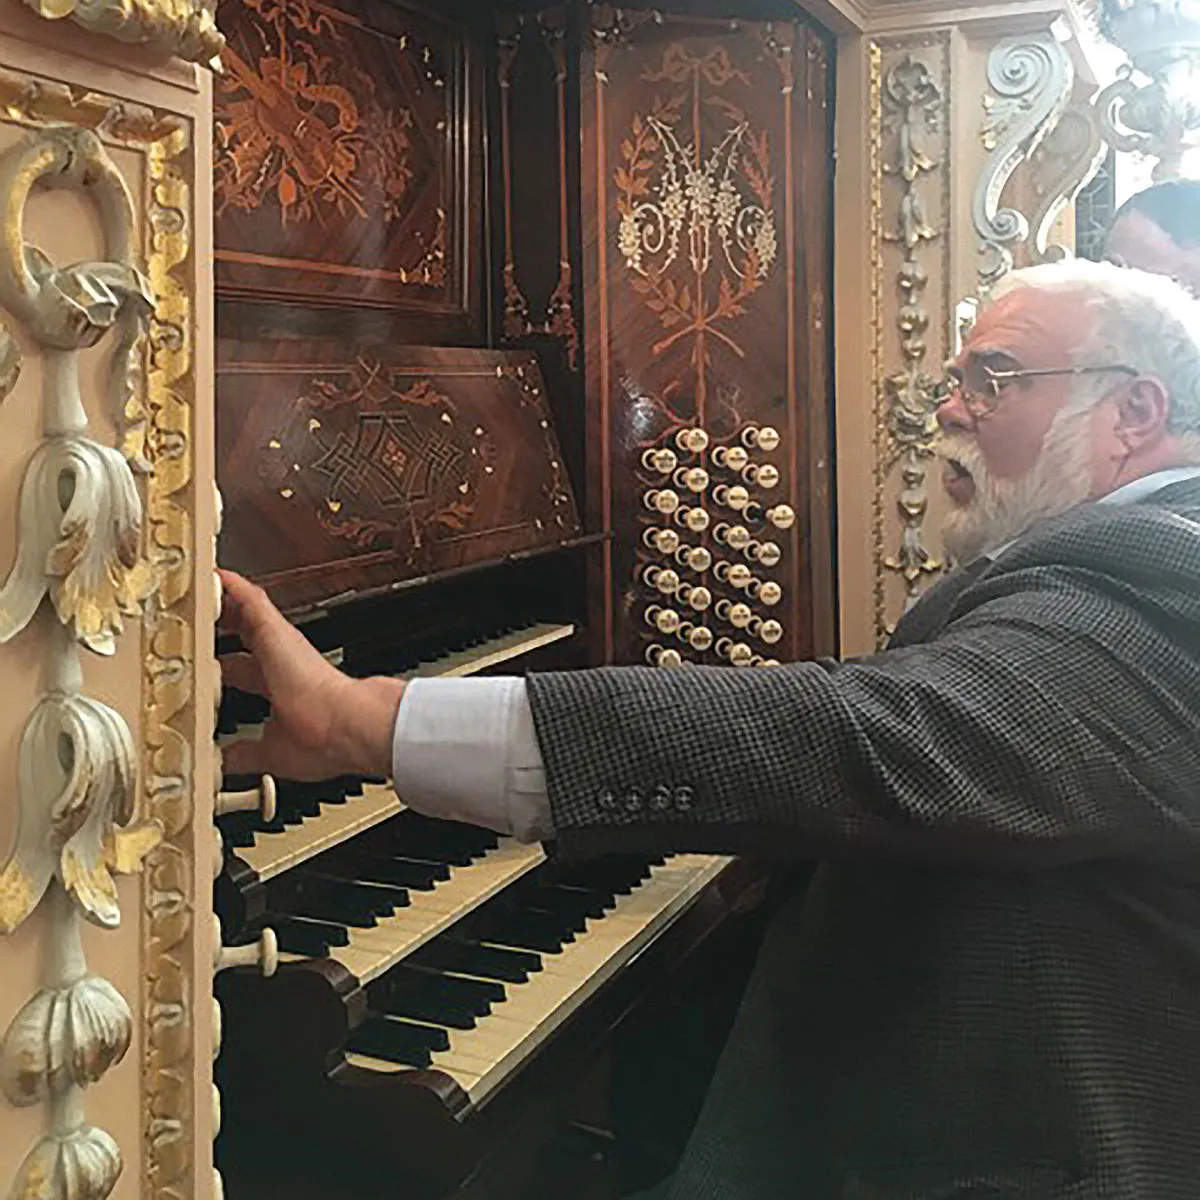
Other than the on/off switch, the most important set of “extras”—accessories—that you need to understand before embarking on the journey of learning to play the organ is the stop controls—that is, the knobs, switches, or whatever it might be that turn the stops of the organ on and off, and that allow you to choose from among the many different sounds of the instrument.
Thus we come to the subject of organ registration or the art of choosing sounds for organ pieces—or for any playing that you do at the instrument: repertoire, hymns, accompaniment, improvisation, and so on. I discuss registration at some length from historical and aesthetic perspectives in the later chapter on registration. Here I will go over the beginnings of what is a very big subject: enough to allow the beginner to start feeling comfortable using organ sound, and therefore to be able to start practicing and learning.
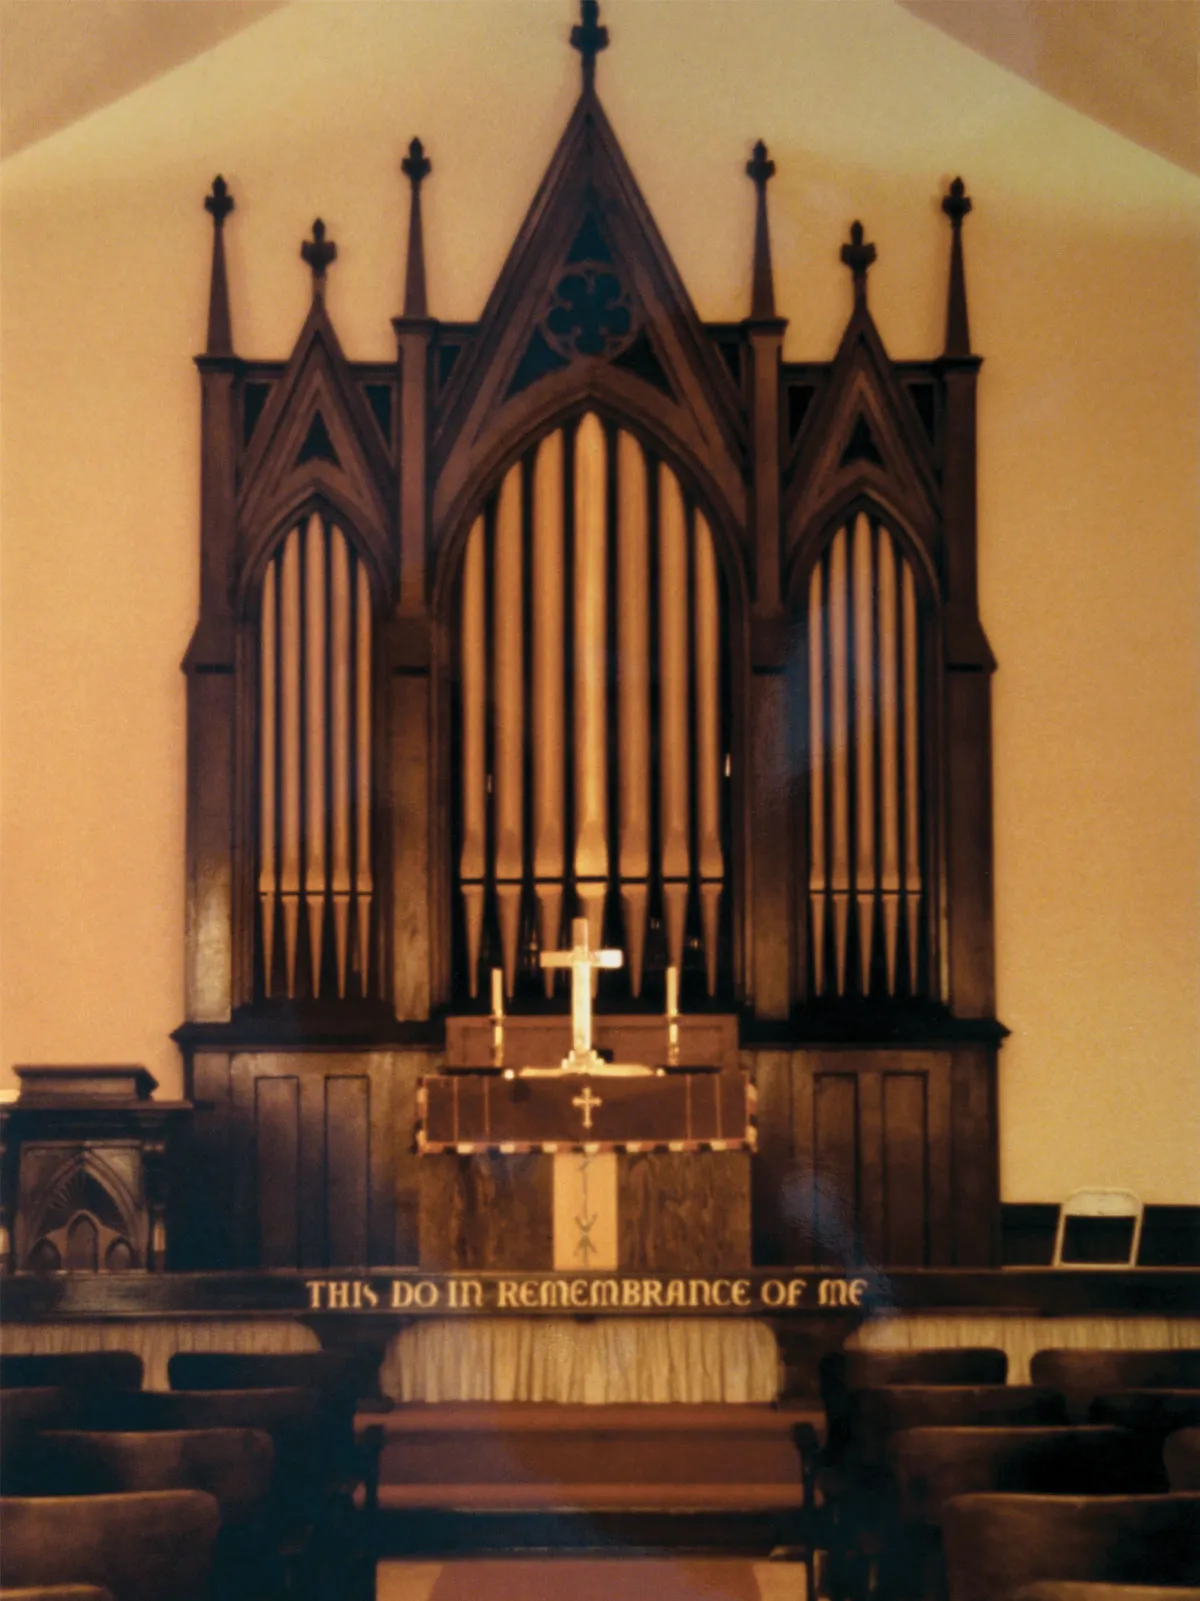
An organ has stops. A stop is a sound. Traditionally—that is, in pipe organs—a stop is a set of pipes, usually one per key of a given keyboard, that make a certain kind of sound. (Electronic organs make the sounds in different ways, and the sounds can be rather different, but the concept is the same.) The pipes of a given stop differ from one another in pitch, as they go up the compass of their keyboard, and resemble one another in sonority. Different stops cover the same notes as one another but differ, a little bit or a lot, in sonority. No note will sound on an organ keyboard—no key will produce a sound—unless there is at least one stop turned on when the key is pressed.
Stops are normally assigned to particular keyboards. So, if there are two manuals and one pedal keyboard on a given organ, each of those three keyboards will have its own set of stops, from as few as one to as many as, rarely, dozens. For a keyboard to have between about eight and sixteen stops is common. (A keyboard and its associated stops are normally referred to as a “division.”) There are often, but not always, limited ways of sharing stops between keyboards. Most of the accessories mentioned above, found around the actual keyboards of an organ, are the switches that turn stops on and off. These can be knobs, which are pulled out to turn stops on, giving rise to the expression “pulling out all the stops.” They can also be tabs, rectangles or rounded rectangles, which are flipped up or down, or tablets meant to be rocked back and forth. The stop controls for each keyboard are usually grouped together. If the organ at which you find yourself is well labeled, then it will probably be clear which group of stop knobs or tabs controls the stops for which keyboard. If it is not clear, then it can be found out very readily by trial and error.
Organ stops can be used singly or in combination. In general, just as each stop has its own distinct sound, so any possible combination of two or more stops has its own sound. If a given keyboard has just two stops, then that keyboard has three possible sounds: stop A, stop B, and those two stops together. If a keyboard has eight stops—still a fairly small division—then it has a total of 255 different possible sounds. A large division with, say, eighteen stops has over a quarter of a million possible combinations of stops, and thus that many different sounds. Of course many of these sounds are similar to one another. Also, these numbers—which get even bigger when we talk about combinations of sound across the whole organ—are for technically possible combinations. Only a fraction of those possibilities are normally judged to be musically attractive and useful. This, of course, is subjective, and open to disagreement and change.
Each organ stop is defined by two attributes: its pitch level and its sonority. The pitch level is easy to define or describe: a stop is either at unison pitch or at some other clearly defined non-unison pitch, say, an octave above unison, or two octaves above unison, or an octave below unison, or an octave and a fifth above unison. The purpose of stops that are not at unison pitch is not to transpose music, nor to alter the apparent pitch level of the music that is being heard. All of the non-unison stops are used in combination with unison stops. They blend in and change not the pitch level, but rather the sonority. It can be a bit of a leap of faith at first to believe that this works or makes sense, but it does. Stop knobs (or tabs, etc.) are labeled with numbers that tell us clearly what the pitch level of each stop is. These numbers are expressed as feet; however, it is important to know that they are not about length: they are simply a convention for describing pitch level. The meanings of the numbers are as follows:
8′ - at unison pitch (that is, each note has the same pitch that you would expect a piano to have, except for minor tuning differences)
4′ - one octave higher than unison
2′ - two octaves higher than unison
1′ - three octaves higher than unison
16′ - one octave lower than unison
32′ - two octaves lower than unison
51⁄3′ - a fifth higher than unison (a C key, for example, plays the G above it)
22⁄3′ - an octave and a fifth higher than unison (a C key plays the G a twelfth above it)
13⁄5′ - two octaves and a third above unison (a C key plays E a seventeenth above it).
It is very important for the student to know these numbers (there are a few others that are used rarely, but can be figured out). If a stop knob has a Roman numeral—say V or III or IV—then that stop is a conglomeration of many very high-pitched pipes.
Stop controls also have words on them—the likes of “diapason” or “gedeckt” or “salicional” or “trumpet”. These are terms that attempt to describe the sonority of the stop. There is a lot to say about what these terms mean and where they come from (again, see the chapter on registration), but the best way to look at it at the very beginning is this: the term attempts to describe the sound, but if I pull out the stop and play some notes I can hear the sound itself.
Related Articles