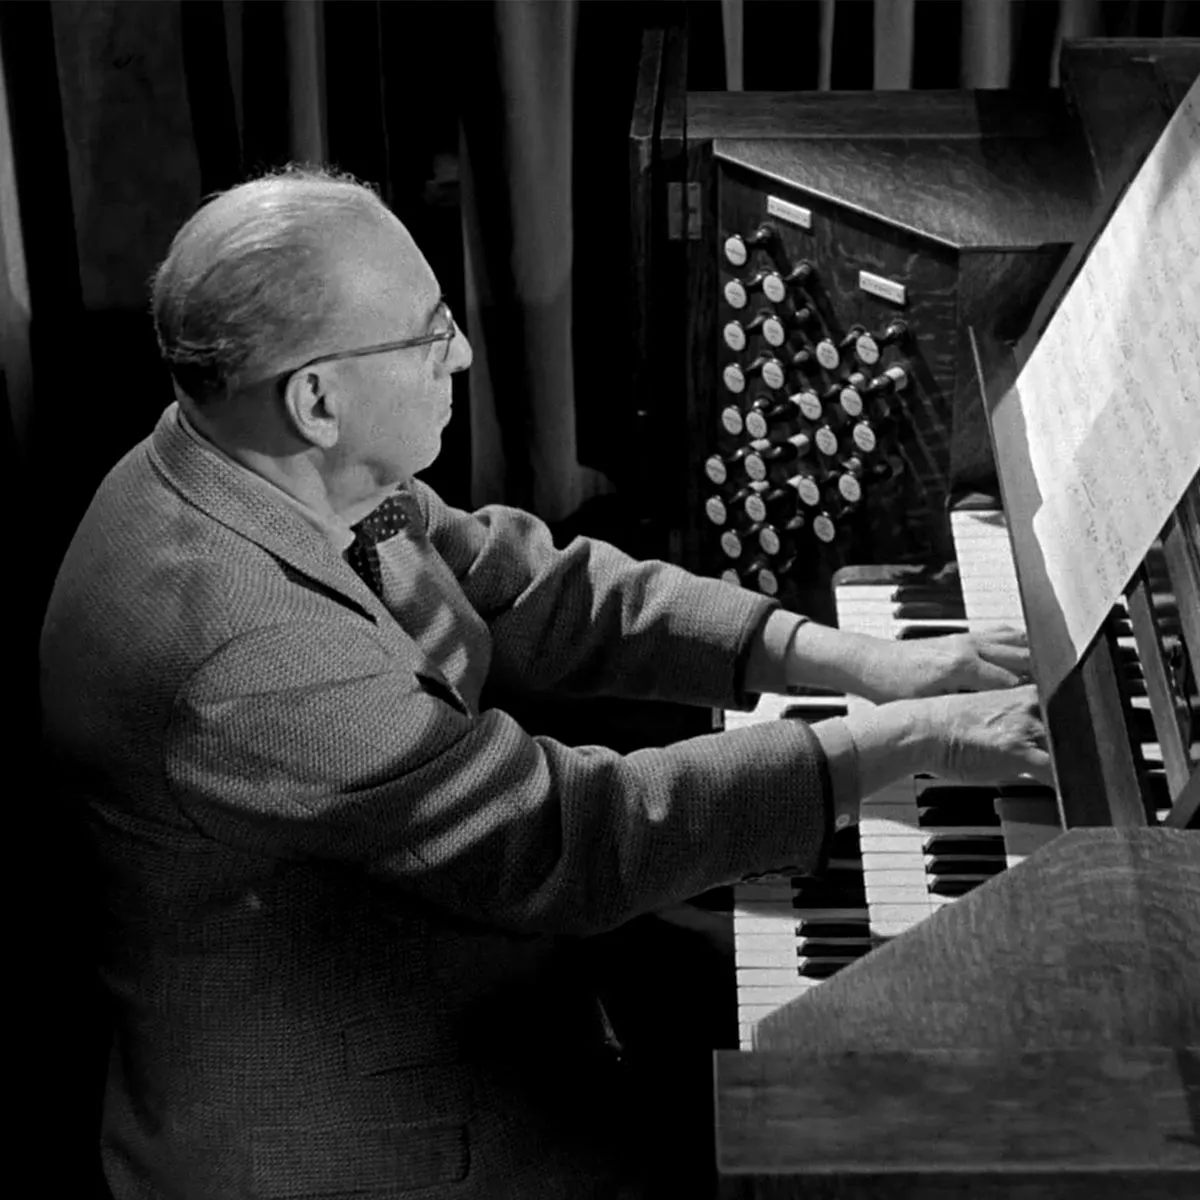
Organ Method IX
This excerpt begins the section on manual playing, in which I offer guidance to the student who has already played piano or harpsichord, on how to adapt that playing to the organ. This is, as I wrote in the Preface to the method—which appeared as the October 2012 column—mostly about how to practice. One model for an approach to learning organ (manual) playing for a student who is already a keyboard player is this: sit down at the organ, play around, and see what you notice. Of course, this is potentially inefficient. There is no reason that a student should lack the advantage of some guidance from someone more experienced, in person or through writing. However, this hands-off, unguided approach is in fact the essence of what a musician/student should do. The way to learn what sounds and touch on the organ are like is to play the organ, notice everything that you hear and feel, and respond to what you notice. Although I think that at least on grounds of efficiency it is a good idea for a student to accept guidance from teachers (or for that matter from method-writers), I also think that such guidance should remove as little autonomy and initiative from the student as possible. The opening of the section on manual playing—the part included this month—is a general guide to starting the process.
I should mention that, whereas in the column from last October I wrote that the work on playing manuals and pedals together would form part of the section on pedal-playing (the section that was printed in several columns ending last month), I have since decided to shift it to after the section on manual playing. This seems to me to make more sense, although of course in the end students can uses chapters of this book in any order that they want.
Position
Take a seat on the organ bench. If you have already begun to work on pedal playing, then remember to position yourself on the bench—and to position the bench itself—in the way that you have found best for pedal work. It is not a good idea to get accustomed to a different bench position for manuals-only music, pedals-only music, and the large segment of the organ repertoire that uses hands and feet together. (Though once in a while, later on, it might be a good idea to change position for a particular piece that presents some sort of unusual challenge.) If you are coming to this section of the book without yet having begun to work on pedal playing, then position the bench at a height that allows you to relax your legs completely either without depressing any pedal keys, or only depressing them lightly with your toes. Of course, while practicing manuals without pedal, you should rest your feet in whatever way that the organ you are playing provides. Usually there is a bar low down on the bench that is meant to accommodate the feet when they are not being used to play.
Since the vast majority of organs have at least two—often three—manuals, there is no way to sit that gives you one position in relation to the manual keys. The higher manuals are both higher and farther away. In trying to work out the right distance from the manuals at which to sit, it is important to make sure that you do not feel cramped. If you are too close to a keyboard, it is extremely difficult to play without tension. You should never feel that your shoulders need to be drawn upwards or back in order to give your hands and arms room to address the keyboards. Your shoulders should also, however, not be hunched forward. Your posture on the bench should be as relaxed and comfortable as possible. As you get accustomed to playing, you may make changes in the exact distance from the keyboards that you choose to sit. There is no “correct” posture for your arms while playing the organ. That is, your elbows, for example, do not have to be in one particular place or one particular alignment with your torso; your wrists need not be consistently above, below, or even with your forearms or hands. These things will vary with your own physique and habits.
Once you are seated on the bench, notice where on each keyboard each of your hands most naturally falls—the place on the keyboard at which your forearms, the middle three fingers of each hand, and the keys themselves line up straight, while your shoulders and elbows are in a comfortable place. This will probably be roughly an octave below middle C for the left hand and an octave above middle C for the right hand: a bit farther out from the center for players who are particularly broad-shouldered or who prefer to keep their elbows out from their sides. This is the place on the keyboard where it is easiest to play without tension. Therefore, it is the best place to use as a sort of laboratory for learning or trying out various aspects of organ touch and various fingering skills.
Begin to play
Now draw a stop or two (you can revisit the Introduction for a reminder about drawing and combining stops) and play some individual notes in the region of the keyboard described above. What do you notice? What is the touch like? How does it compare to the instruments with which you are most familiar—piano, harpsichord, or others? Is it heavy or light or in-between? Try playing a few notes with your fingers as far out on the keys as possible—almost slipping off to the front—and then with your fingers in the middle of the keys. Do these different positions feel different? Try playing notes in this same region of each of the different keyboards of the organ at which you are seated. Do the keyboards feel different from one another? Try engaging a coupler. Does this change the feel of either of the keyboards involved? If you depress a key very slowly, with as little force as possible, does that seem to sound or feel different from what you experience if you strike a key with more force? The answers to these questions will vary—sometimes a lot—from one organ to another. Whatever you notice or learn at the first organ keyboard at which you sit and play is, of course, only a beginning.
Next play some simple note patterns, one hand at a time, along the lines of these, the first for the right hand, the second for the left (Examples 1 and 2). I have located these short exercises in the region of the keyboard that I have identified as the most natural for your arms and hands to reach. However, if for you that region is a little bit higher or lower, then start out playing the same four-note pattern using whatever specific notes seem most comfortable. (Stick to natural notes for the moment.) Try the following different fingerings—right hand: 2-3-4-5-4-3-2 or 1-2-3-4-3-2-1; left hand: 5-4-3-2-3-4-5 or 4-3-2-1-2-3-4.
What do you notice about the different fingerings? Do they seem to result in differences in hand position or in where on the key you play each note? Does one feel more comfortable or more natural than the other?
Next, try the same exercise about a fifth closer to the center of the keyboard. If you started on the notes that I pictured, move to this (Examples 3 and 4). Try the same different fingerings, and look out for the same things. Then play the same pattern near the middle of the keyboard, perhaps with each hand crossing or including the note middle C. Try this on all of the keyboards of the organ that you are playing.
In playing this short exercise bear the following in mind:
1) Keep everything relaxed: hands, arms, shoulders, and your entire body.
2) As long as you are physically relaxed, do not worry for now about the shape or position of the hand: the relationship between the fingers and the rest of the hand; the height of the wrist; the height of the wrist or hand in relation to the arm. All of these things are individual and flexible. There might turn out to be right and wrong ways for you to approach these things, but they will be right or wrong for you specifically: they will emerge in the course of your learning—they can’t be dictated in advance. There are aspects of sideways hand position—that is, how the hand is turned or cocked side-to-side—that are important, and that tend to work out the same way for most players. You will begin to work on this a bit later on.
3) The fingers need not always be parallel to the keys. It is fine for the finger playing a note to be at any angle to that key, as long as the part of the finger actually playing the note touches the key solidly.
4) Keep the tempo slow, and listen to the sound of each note: savor each note. There is nothing to be gained by speed.
5) Try different articulations. Some of the time, make the exercise legato: release each note as you play the next note. Other times, try an exaggerated legato: let notes overlap to such an extent that you hear adjacent notes sounding together, perhaps for nearly the full length of the latter note, even though this will sound odd. Then try it detached: release each note long enough before playing the next note that you hear a gap. Then also try it very detached: release each note as soon as possible after you play it, only making sure that you do really hear the sound of each note. (Even these very short notes should be played without extra force or tension.)
6) In trying out all of these articulations, do not worry about precision or making everything come out the same. Just keep relaxed and listen. This will lead to the most control—and precision when it is desired—later on.
Next, add some raised keys—sharps and flats—to the exercise. Start with one of the following, and take it through all of the steps described above (Examples 5 and 6).
Two hands together
These simple exercises are meant to be played one hand at a time. The next step is to put the two hands together, keeping the note picture simple. As always, you the student can construct such exercises yourself. Here are a few possibilities derived from the exercises above (Examples 7, 8, 9, and 10).
Concerning the fingering for these exercises, bear the following in mind:
1) Use the same sorts of fingerings for each hand of these exercises that you used for the separate-hand exercises above; that is, sometimes 1-2-3-4, etc., sometimes 2-3-4-5, etc.
2) Mix and match these fingerings between the two hands. Sometimes use the thumb-based fingering in both hands, sometimes use the second-finger-based fingering in both hands, and sometimes use one of those in each hand.
3) Note that when the notes are parallel, the fingerings are mirrored, or nearly mirrored; when the notes are mirrored, the fingerings are parallel or nearly parallel.
4) Before you play through an exercise, be absolutely sure that you know what fingering you are about to use. If it would help, write the fingering in—but lightly, in pencil. When you want to try a different fingering, erase what you have written and write in the new fingering.
Keep these exercises slow: it is not useful to practice this sort of material if, in doing so, you feel that you have to scramble to find the next note, or if you actually make wrong notes, or if you have to hesitate in order to get it right. There is no disadvantage to keeping the notes very slow indeed. Listen to the sounds, and to the intervals. Savor the sounds of the registrations that you use.
Continue to try different articulations, as described above. If you feel comfortable doing so, you may try different articulations in each hand. In doing this, again don’t expect for the results to be measured or precise: just keep the feel of the hands relaxed and natural, and listen carefully.
Related Articles